子どもが生まれたばかりのパパブロガー、のってぃ(@notthi)です。
5〜6回付け外ししてみて、ようやくチャイルドシートのつけ外しのコツがわかってきたので、まとめておきます。
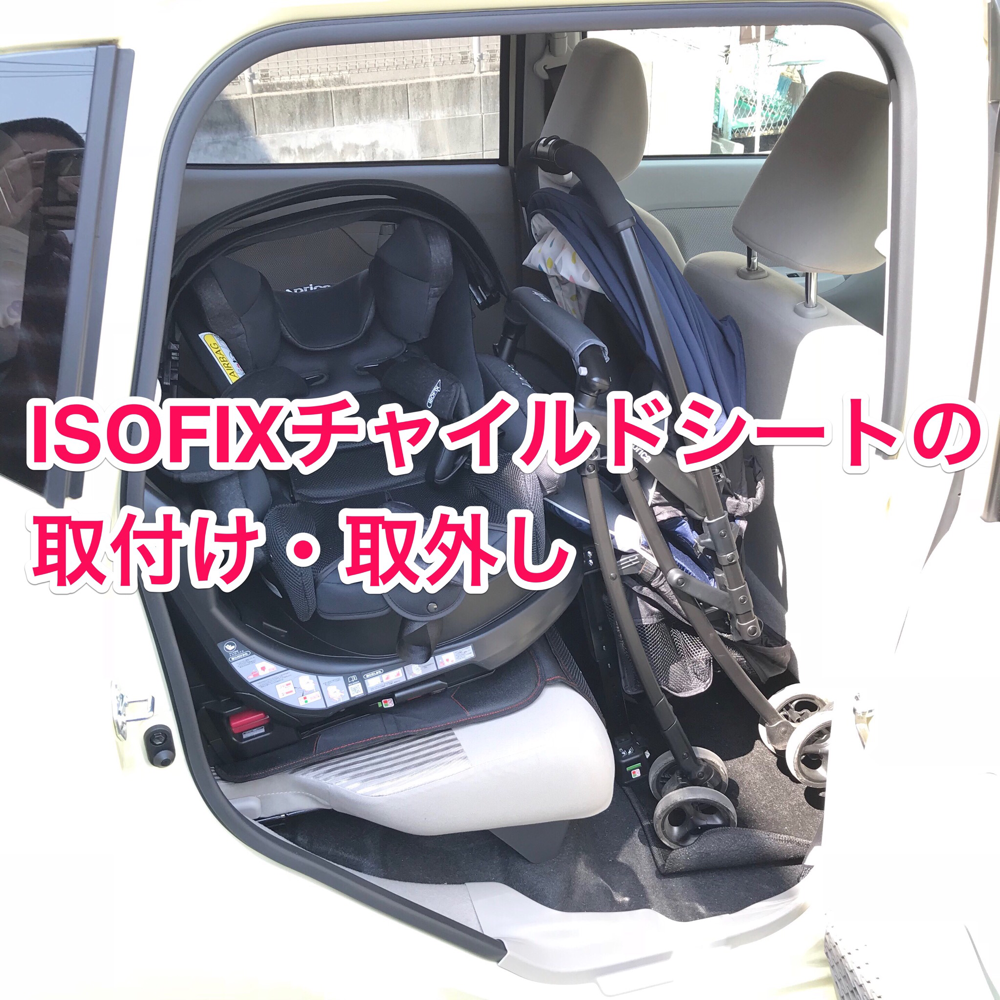
チャイルドシートは色々迷ったのですが、主にAmazonレビューを参考にして、アップリカのフラディアグロウISOFIXを買いました。
![](https://notthi.com/wp/wp-content/uploads/2017/08/notthi.jpg )
ISOFIXタイプなので、2~3分で取付け・取外しができます!
しかも安全性も高いとのこと。
横向きベッドにすることで、生まれてすぐの新生児でも使うことができます。
シートの寝心地も良いようで、チャイルドシートに乗せてもほとんどぐずることがありません。
買ってよかった、満足度の高いアイテムの一つです。
ISOFIXタイプのデメリットは、
![](https://notthi.com/wp/wp-content/uploads/2017/08/notthi.jpg )
とにかく重い!15キログラムあります。女性では厳しいかもしれません。
チャイルドシートの付け方のポイント
愛車のCX-5で説明します!![](https://i0.wp.com/notthi.com/wp/wp-content/uploads/2018/05/slproImg_201805051004240.jpg?w=728&ssl=1)
まず、車のドアを全開にします
![](https://i0.wp.com/notthi.com/wp/wp-content/uploads/2018/05/slproImg_201805051004241.jpg?w=728&ssl=1)
シート保護カバーがあれば、取り付けます
![](https://i0.wp.com/notthi.com/wp/wp-content/uploads/2018/05/slproImg_201805051004242.jpg?w=728&ssl=1)
シート保護カバーはこちらを使っています。車のシートを傷つけないための必須アイテム。
¥2,280 (2024/02/09 00:24時点 | Amazon調べ)
![](https://i0.wp.com/notthi.com/wp/wp-content/plugins/pochipp/assets/img/pochipp-logo-t1.png?resize=32%2C32&ssl=1)
車がISOFIXに対応している場合はマークが付いています
![](https://i0.wp.com/notthi.com/wp/wp-content/uploads/2018/05/slproImg_201805051004243.jpg?w=728&ssl=1)
ISOFIXの金具の位置を確認しておきます
![](https://i0.wp.com/notthi.com/wp/wp-content/uploads/2018/05/slproImg_201805051004244.jpg?w=728&ssl=1)
![](https://i0.wp.com/notthi.com/wp/wp-content/uploads/2018/05/slproImg_201805051004245.jpg?w=728&ssl=1)
レッグサポートを起こして、チャイルドシートを車に乗せます
![](https://i0.wp.com/notthi.com/wp/wp-content/uploads/2018/05/slproImg_201805051753480.jpg?w=728&ssl=1)
解除レバーを上げながら、バーを全開まで伸ばします
![](https://i0.wp.com/notthi.com/wp/wp-content/uploads/2018/05/slproImg_201805051004257.jpg?w=728&ssl=1)
左右同様です
![](https://i0.wp.com/notthi.com/wp/wp-content/uploads/2018/05/slproImg_201805051004258.jpg?w=728&ssl=1)
ISOFIXの固定金具目がけてチャイルドシートを押し込みます。結構力が要ります。
![](https://i0.wp.com/notthi.com/wp/wp-content/uploads/2018/05/slproImg_201805051004259-1.jpg?w=728&ssl=1)
![](https://i0.wp.com/notthi.com/wp/wp-content/uploads/2018/05/slproImg_201805051005050-1.jpg?w=728&ssl=1)
![](https://i0.wp.com/notthi.com/wp/wp-content/uploads/2018/05/slproImg_201805051005051-1.jpg?w=728&ssl=1)
レッグサポート(脚)の長さを調整します
![](https://i0.wp.com/notthi.com/wp/wp-content/uploads/2018/05/slproImg_201805051005052.jpg?w=728&ssl=1)
![](https://i0.wp.com/notthi.com/wp/wp-content/uploads/2018/05/slproImg_201805051808540.jpg?w=728&ssl=1)
レッグサポートが突っ張って、チャイルドシートが少し浮くくらいに調節します
![](https://i0.wp.com/notthi.com/wp/wp-content/uploads/2018/05/slproImg_201805051005054-1.jpg?w=728&ssl=1)
取付完了!
![](https://i0.wp.com/notthi.com/wp/wp-content/uploads/2018/05/slproImg_201805051005055.jpg?w=728&ssl=1)
チャイルドシートの取り外し方
チャイルドシートを乗せた状態からスタート。![](https://i0.wp.com/notthi.com/wp/wp-content/uploads/2018/05/slproImg_201805051010040.jpg?w=728&ssl=1)
リクライニングレバーを引いて、背もたれを起こします
![](https://i0.wp.com/notthi.com/wp/wp-content/uploads/2018/05/slproImg_201805051010041.jpg?w=728&ssl=1)
![](https://i0.wp.com/notthi.com/wp/wp-content/uploads/2018/05/slproImg_201805051010042.jpg?w=728&ssl=1)
回転レバーを起こして、シートを前向きに回転させます
![](https://i0.wp.com/notthi.com/wp/wp-content/uploads/2018/05/slproImg_201805051010043.jpg?w=728&ssl=1)
![](https://i0.wp.com/notthi.com/wp/wp-content/uploads/2018/05/slproImg_201805051010044.jpg?w=728&ssl=1)
![](https://i0.wp.com/notthi.com/wp/wp-content/uploads/2018/05/slproImg_201805051010045.jpg?w=728&ssl=1)
![](https://i0.wp.com/notthi.com/wp/wp-content/uploads/2018/05/slproImg_201805051010056-1.jpg?w=728&ssl=1)
解除レバーを上げて、バー(アンカーラッチ)を緩めます
![](https://i0.wp.com/notthi.com/wp/wp-content/uploads/2018/05/slproImg_201805051010057.jpg?w=728&ssl=1)
白がセーフティレバー、赤がアンカーラッチ解除レバーです
![](https://i0.wp.com/notthi.com/wp/wp-content/uploads/2018/05/slproImg_201805051010058-1.jpg?w=728&ssl=1)
セーフティレバーを押し下げながら、解除レバーを右へ押します
ここも結構固いので、力が要ります
![](https://i0.wp.com/notthi.com/wp/wp-content/uploads/2018/05/slproImg_201805051010059-1.jpg?w=728&ssl=1)
![](https://i0.wp.com/notthi.com/wp/wp-content/uploads/2018/05/slproImg_201805051010520.jpg?w=728&ssl=1)
左右同様に外します
![](https://i0.wp.com/notthi.com/wp/wp-content/uploads/2018/05/slproImg_201805051010521.jpg?w=728&ssl=1)
取外し完了!
![](https://i0.wp.com/notthi.com/wp/wp-content/uploads/2018/05/slproImg_201805051010532.jpg?w=728&ssl=1)
まとめ
取扱説明書を見ながら作業しても、なかなか理解できなかったので、試行錯誤した結果をまとめました。注意
本記事の説明には安全に関する注意事項等が抜けている部分もありますので、必ず公式の取扱説明書には目を通すようにお願いいたします。
¥65,761 (2024/02/09 00:20時点 | Amazon調べ)
![](https://i0.wp.com/notthi.com/wp/wp-content/plugins/pochipp/assets/img/pochipp-logo-t1.png?resize=32%2C32&ssl=1)